I have already added drummers and standard bearers and mounted officers to the Prussian/Bavarian/Wurtemburg forces as well as converting gunners for all three states but artillery has presented something of a problem for both sides. Looking at the Lone S Ranger site, there is a picture of a French Mitrailleuse but it isn't are available. .

 |
| The original S Range Gatling Gun. The 'barrel' is a separate piece. |
First, using my trusty pliers I twisted the Gatling drum and off it came. This left something which looks like a maxim gun. Three worked but one model did break but I rebuilt the broken bit with 'green stuff'. The break isn't clean so a little filing is needed and the barrel can bend but is easily bent back by hand if it bends.


I then drilled a hole in the rear of the gun and bent a piece of brass rod at right angles using the pliers I left it longer than I needed as it is easier to work with and simple to trim down after. I super glued the rod in place and I had the lever to the rear. I then got confused looking at various picture about whether this should in fact have been a crank handle!
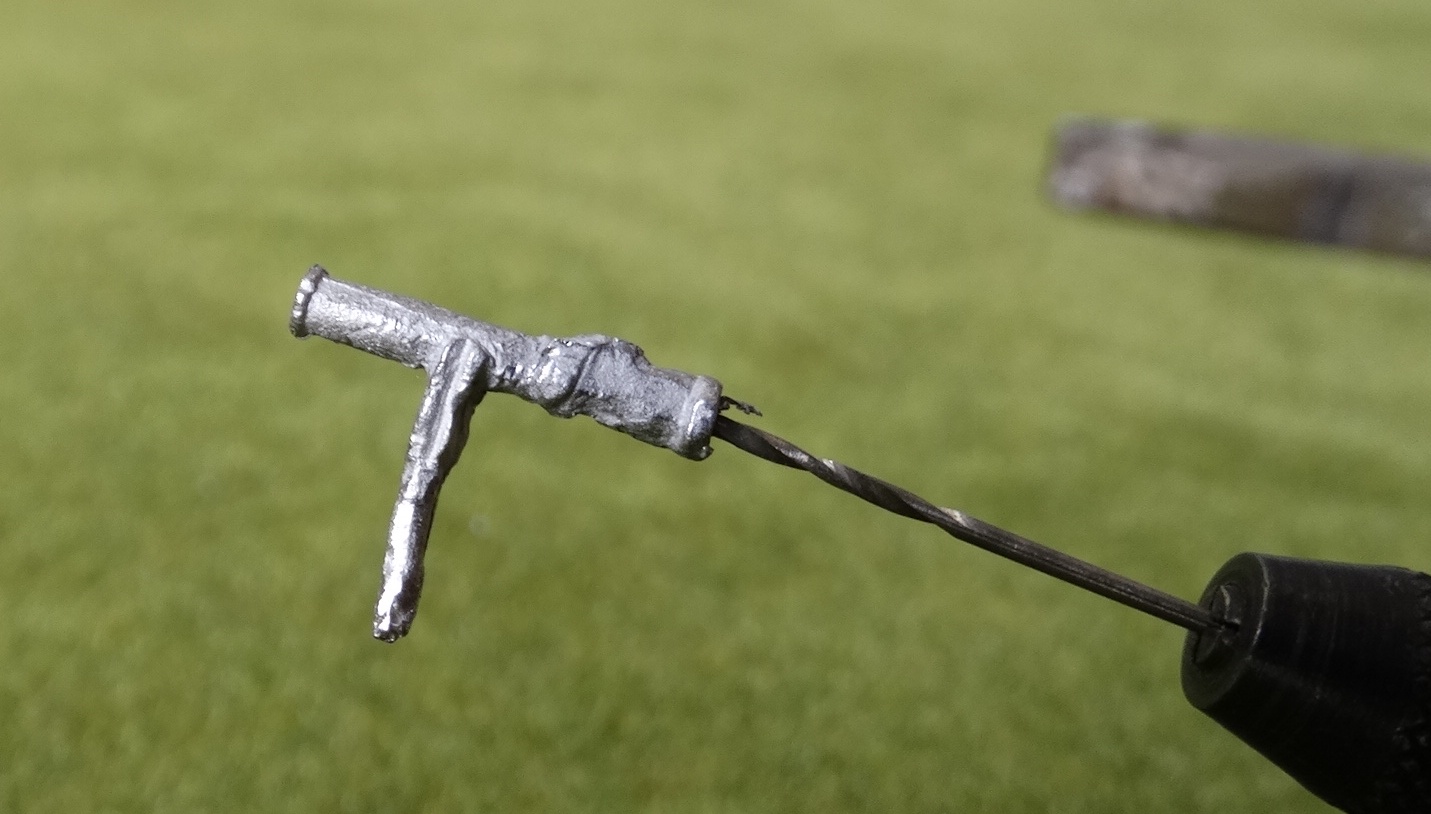

Anyway I pushed on and drilled a hole in the side of the 'stock' bent another piece of brass rod - again using the pliers - and glued that in place. I then trimmed both rods to the right size, a quick file and they were ready to go.

The next step was to mix a small amount of 'green stuff' to represent the ammunition block (on reflection this probably should be more square that 'crescent' shaped). Whilst it is still 'soft' I used a needle to make some small indentations to represent the cartridge hole.


 |
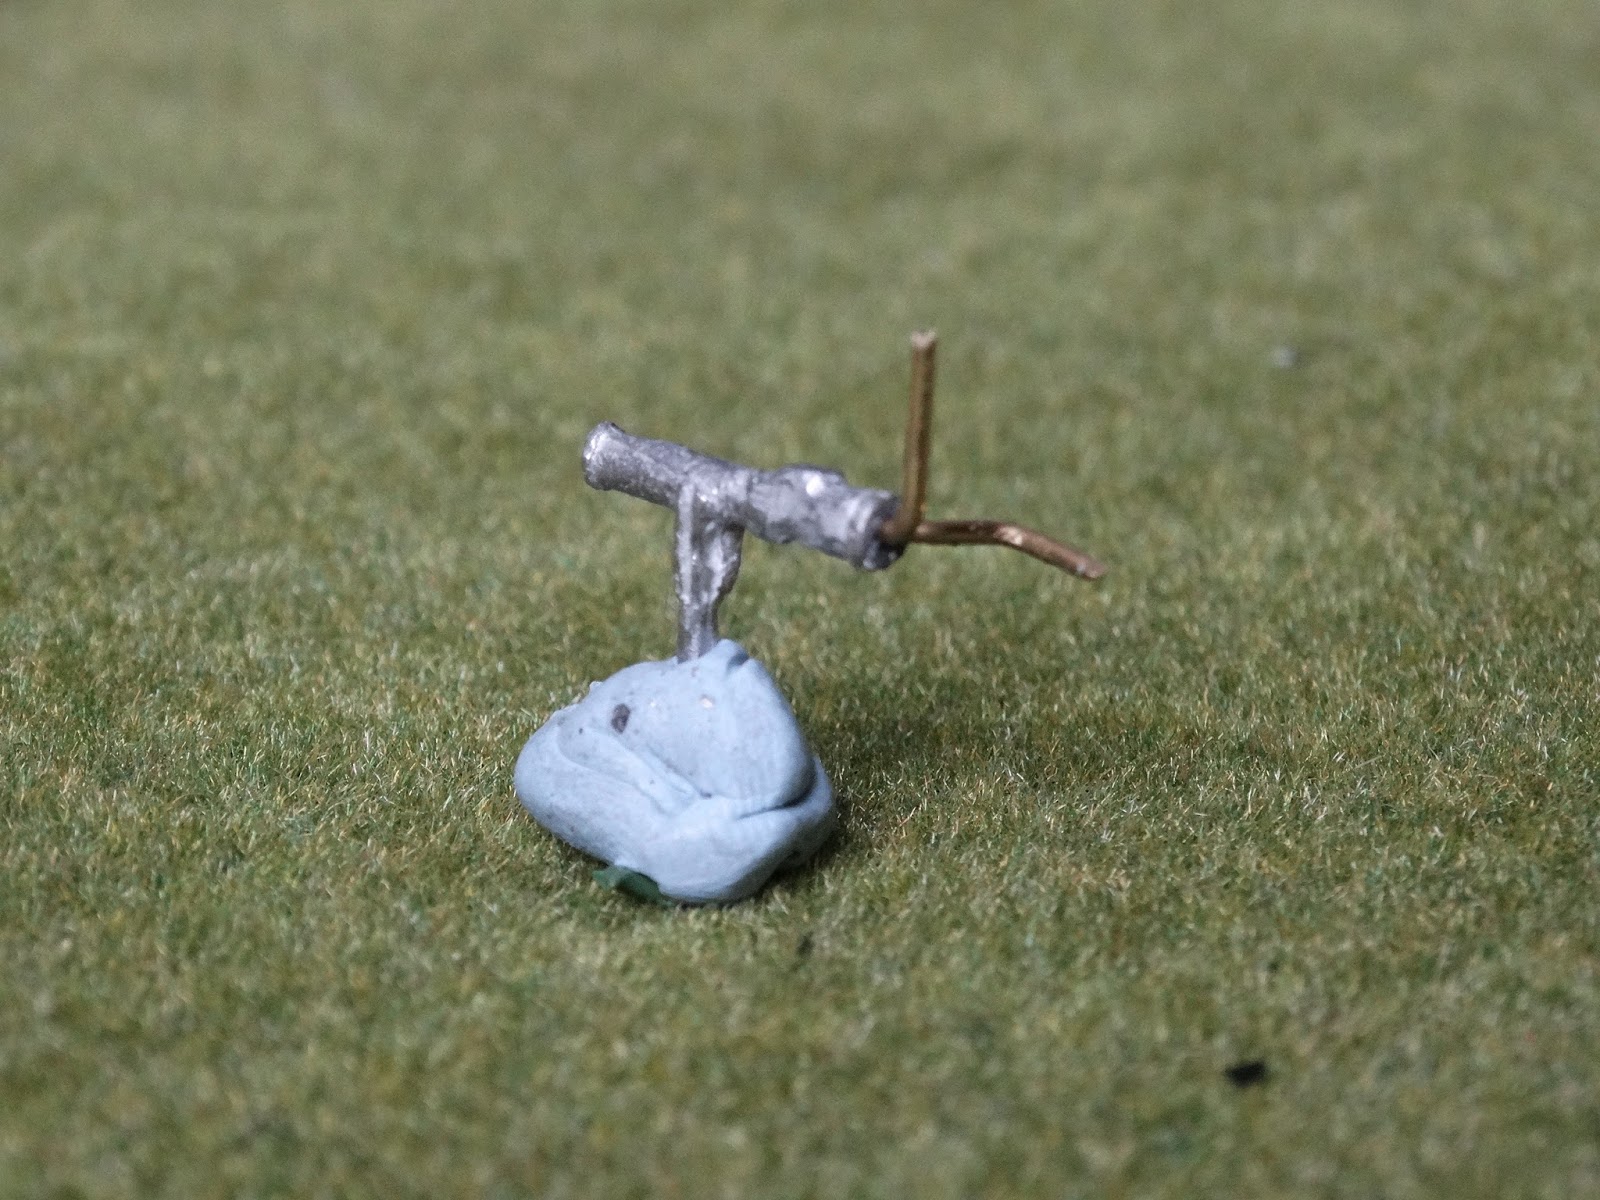
| What I was trying to get represent. |

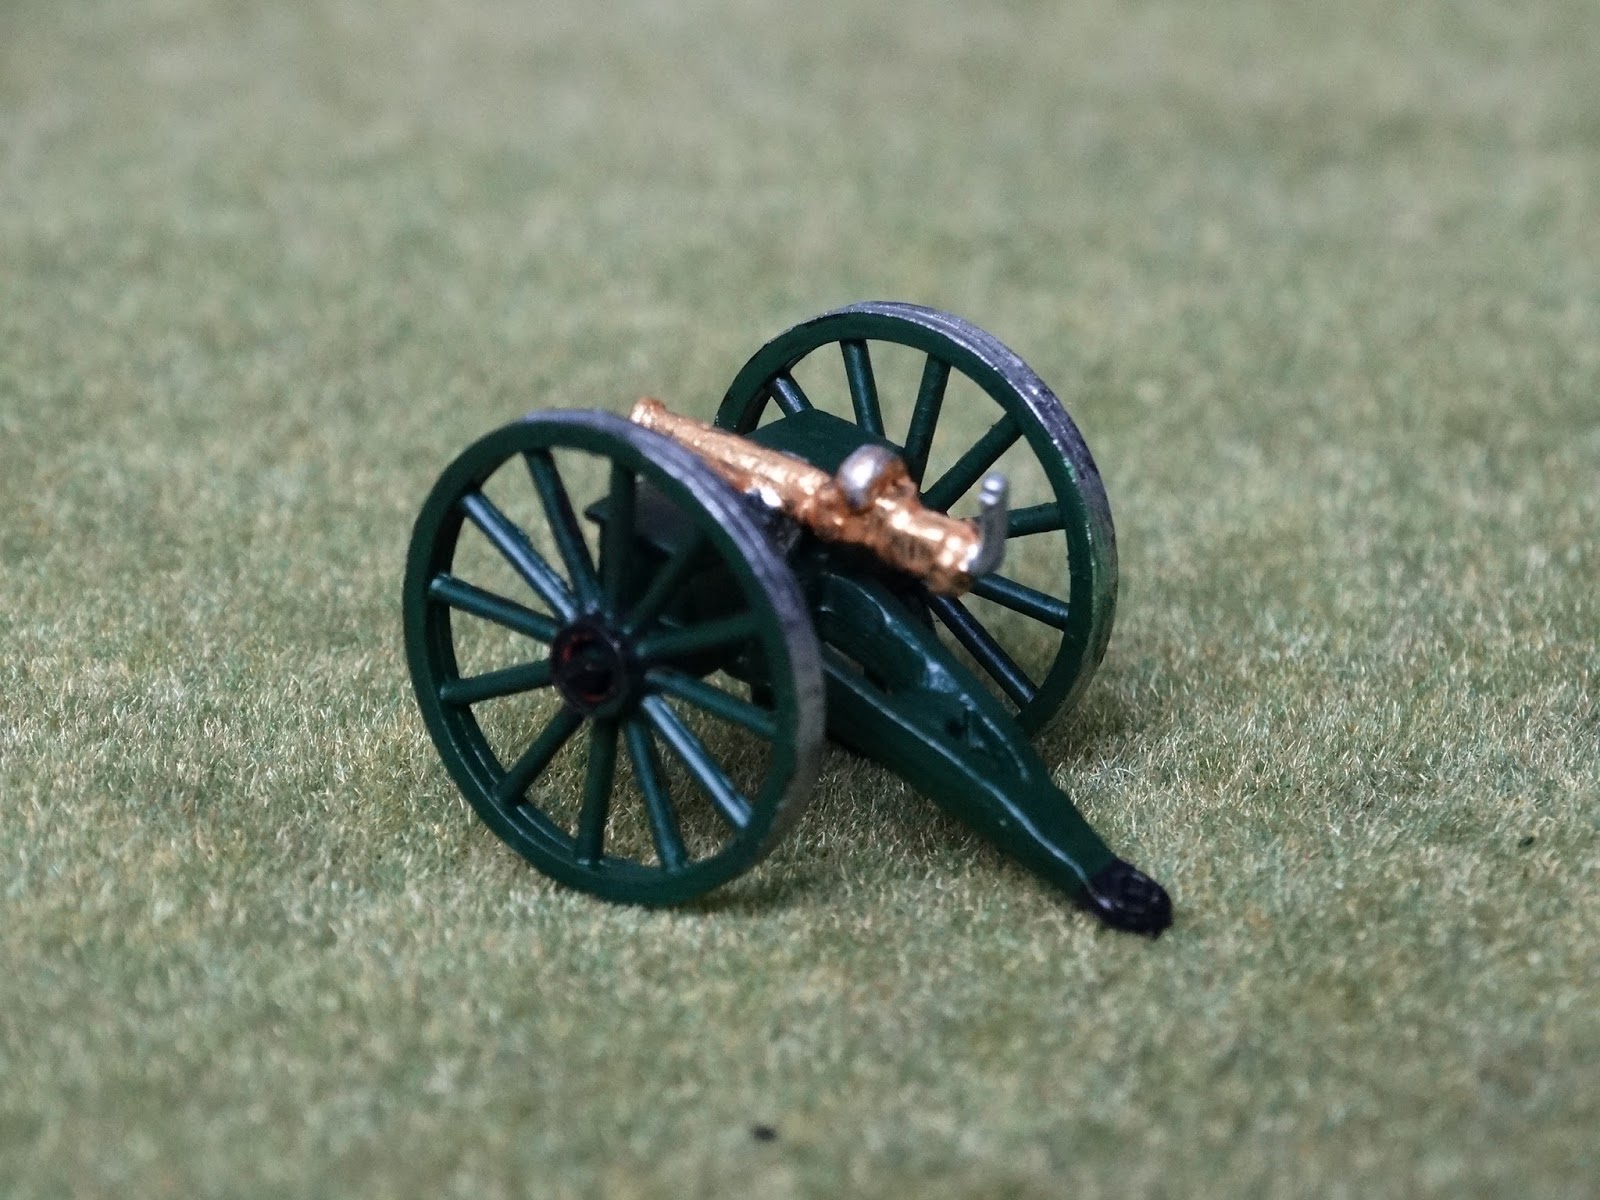 |
| Couldn't find any information on gun carriage colour - Museum pictures of guns show an apple green, but elsewhere I have seen them painted dark green. |

I haven't made a shield, largely because I didn't have any plasticard and by the time it dawned on me that I could have easily used one of my out of date plastic membership cards, I had painted everything.
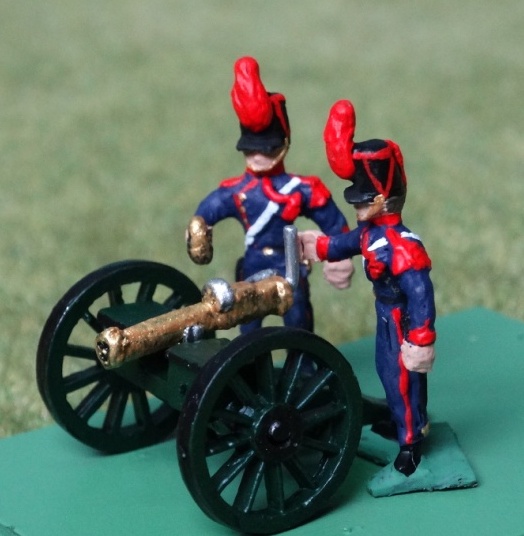
Gunners.
Having made a gun I thought there should be some gunners. Again although Minifigs made the Mitrailleuse I couldn't find any reference to any firing figures, so set about making some simple conversions. Contemporary pictures show 'gunners' in shakos with plumes, matching the French gunners in the Crimean War range.
 |
| Note the larger wheels |
It was a simple job of cutting away the rammer, bending one of the arms and opening one of the hands to make it possible to look like he is pulling the lever. The 'open hand' is made by drilling a hole and then cutting into the hand to remove the small amount of metal.


Just for the hell of it I tried to make a gunner sitting behind the gun. This was more hard work than I thought. I took my wire cutters and cut away the saddle cloth from around a French Chasseur D'Africa. A lot of nibbling away, filling and cutting left me with a figure whose legs I could bend. A large dob of green stuff gave him a padded seat (very comfortable given the size!). I removed his sword and bent the arm so that it lined up with the crank handle on the side - a little unnatural! Just goes to show that not all ideas about conversions work!


I am pleased and a little flattered to say that John Cunningham has said he will be casting the gun and making it available as part of his Minifigs S Range Franco Prussian Recasts range, together with all the other conversions of Crimean War and Franco Prussian War figures shown elsewhere on my blog.
No comments:
Post a Comment